

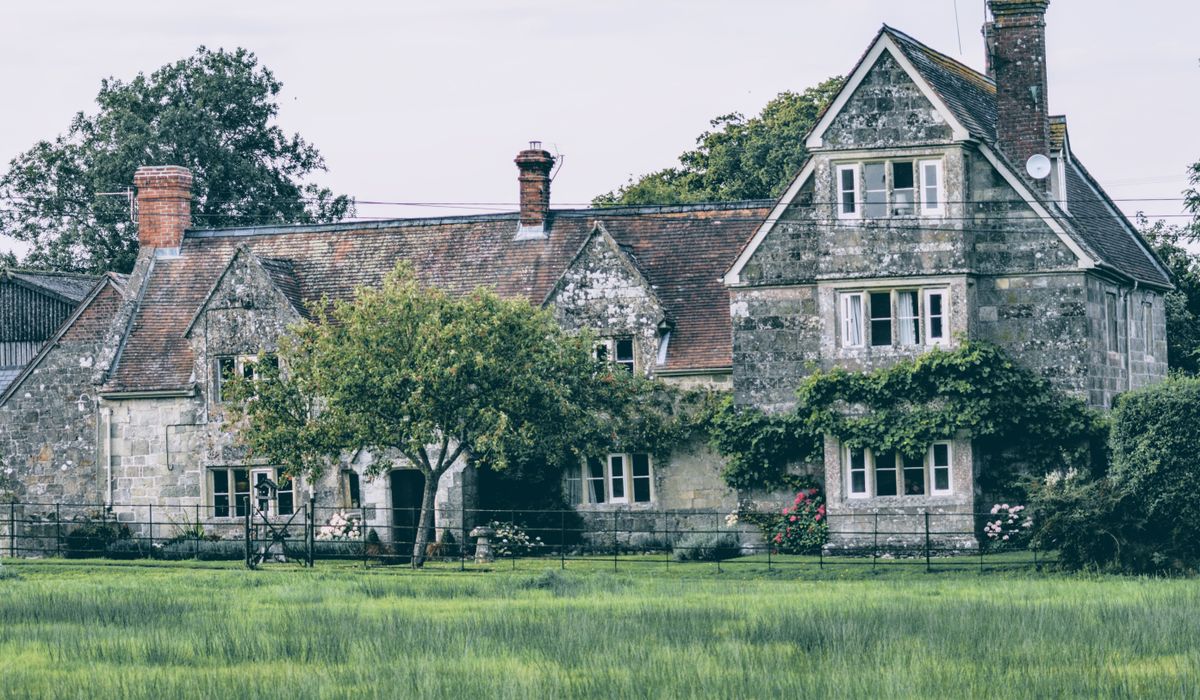
Why Paint Dark Wood Furniture?
Dark wood furniture has a quiet dignity about it, but in the smaller rooms typical of British homes — Victorian terraces, 1930s semis, compact flats — it can swallow the light. A heavy mahogany sideboard in a narrow dining room can make the space feel like a corridor. Painted, the same piece becomes a soft, generous presence that bounces daylight around the room rather than absorbing it.
Painting is also far kinder than replacing. Solid wood furniture from the mid-twentieth century is usually better made than anything you can buy flat-packed today, and a coat of paint costs a fraction of a new piece. The trick is not in the painting itself but in the preparation. Rushed preparation is the single reason most painted furniture ends up chipped, patchy, or peeling within a year.
Start With a Thorough Clean
Before you touch sandpaper, deal with the grime. Decades of furniture polish, kitchen grease and nicotine sit on the surface of old wood, and paint simply will not grip to it. Work over the whole piece with a degreasing cleaner or a warm solution of sugar soap, paying particular attention to handles, edges and the tops of drawers where hands rest.
- Wipe down with a damp cloth and let the piece dry completely — overnight is ideal.
- Remove drawers, doors, handles and hinges so you can paint flat surfaces properly.
- Keep small fittings in a labelled tub or sandwich bag. Losing a single escutcheon screw is remarkably easy.
- Work in a well-ventilated space, ideally a garage or covered outdoor area, with a dust sheet underneath.
Sanding: Lightly, and With Purpose
You do not need to strip dark wood back to bare timber. What you need is a surface with a bit of tooth — a slightly roughened texture that gives the primer something to hold onto. Use a medium-grade abrasive, around 120 grit, and sand with the grain. On curved legs and mouldings, a flexible sanding sponge is far easier to control than paper wrapped around a block.
Pay attention to glossy areas, which is where most factory finishes are at their most slippery. Once you have gone over the whole piece, wipe away the dust with a tack cloth or a barely damp microfibre. Any dust left behind will show through the finish as grit, and no amount of topcoat will hide it.
If you discover a patch of chipped veneer or a deep scratch, fill it now with a fine wood filler, sand it flush, and spot-prime it. Small repairs always look worse under paint than they did under varnish.
The Primer Is Not Optional
This is the step where dark wood punishes shortcuts. Tannins and dark pigments in older timber, particularly oak and mahogany, will bleed through a water-based topcoat and leave you with a yellow or pinkish cast. A dedicated stain-blocking primer seals those pigments in and gives you a neutral base to work from.
- Choose a shellac-based or stain-blocking primer rather than a standard wood primer.
- Apply with a small foam roller for flat panels and a brush for edges and mouldings.
- Two thin coats beat one thick coat every time. Thick primer sags, dries unevenly and shows every brush mark.
- Allow the full drying time stated on the tin. Cool, damp British weather slows curing considerably.
If your piece is a very dark, heavily grained wood, a second primer coat is worth the extra day. You are aiming for an even, opaque, slightly chalky surface.
Applying Thin, Even Coats
Now you can think about colour. For small rooms, chalky off-whites, soft sage greens and muted blues work beautifully and sit naturally alongside vintage fabrics and aged brass. A satin or eggshell finish is generally the best compromise: durable enough for everyday use, but with a gentle sheen rather than a hard, plasticky shine.
Stir the paint thoroughly — never shake it, as this traps air bubbles that will pop on the surface. Apply in thin coats with a good-quality synthetic brush for a water-based paint, laying off in the direction of the grain at the end of each stroke. A small foam roller on flat panels followed by a light brush-over gives the smoothest result.
Two to three thin coats, with a light rub-down using fine abrasive paper between each, will give you a finish that looks professional rather than homemade. Wait until each coat is properly dry before assessing it — paint looks patchy while it is still curing.
Vintage Styling in Small Spaces
The real joy of a painted piece is how well it plays with the rest of a small room. A formerly oppressive chest of drawers in soft grey becomes a calm anchor for a hallway; a dark bedside table in warm cream almost disappears beside a small bed, making the room feel wider.
Distressing is not compulsory, but a little wear on the edges — gently rubbed back with fine paper after the final coat — suits vintage styling without looking contrived. Keep the surrounding scheme quiet: aged textiles, a linen lampshade, a single good ceramic. Let the furniture do the work and resist the urge to fill every surface.
Above all, allow the paint to cure fully, usually a week or more, before you load heavy objects onto it. Painted furniture is not fragile, but it does ask for patience — and patience, happily, is free.





John Doe
14 January, 2022Having no content in post should have adverse..
Chauffina Carr
10 April, 2022We use these tests all time! Killer stuff!
Jim Séchen
16 July, 2022Thanks for all the comments, everyone!