

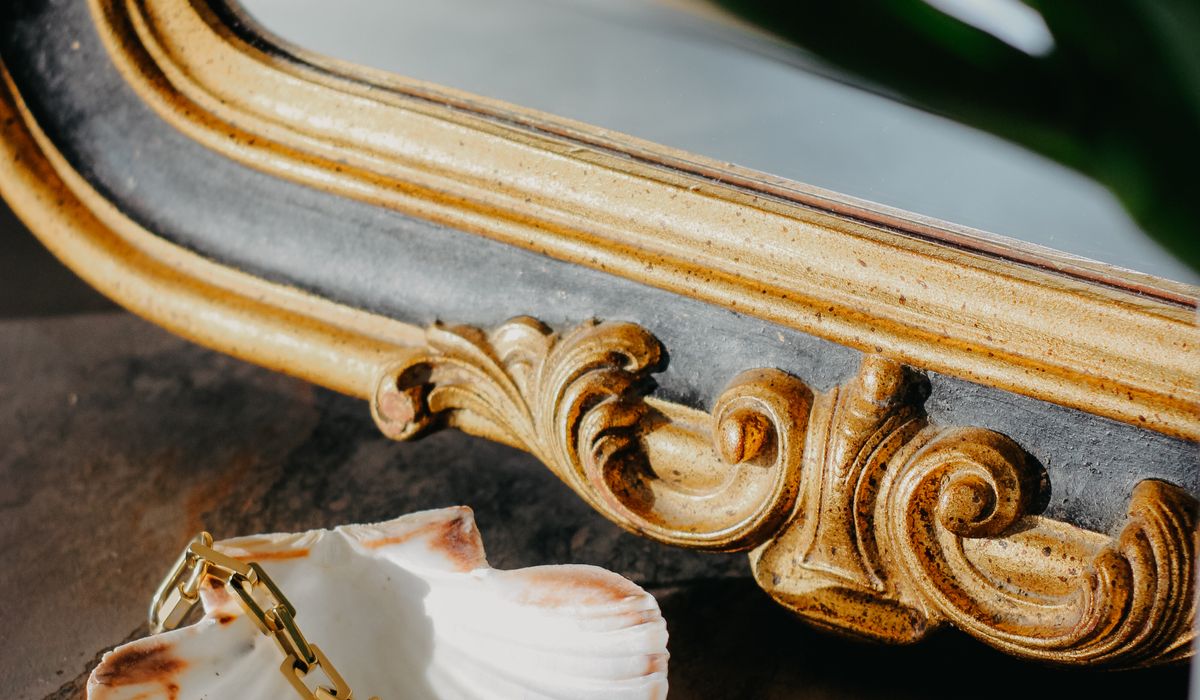
Why a Little Side Table Is Worth the Bother
In a Victorian terrace, a 1930s semi or a flat above a shop, floor space is precious. A small antique side table — anything from 40cm to 60cm wide — earns its keep in ways a modern occasional table rarely does. It slips beside an armchair where nothing else will fit, holds a lamp and a cup of tea without dominating the room, and carries the sort of patina that new furniture simply cannot fake.
The good news is that these tables are also the ideal training ground for a beginner. They are small enough to sit on a kitchen table, cheap enough to buy at auction or a house clearance without much risk, and simple enough in construction that you can see what you are doing. Restoring one teaches you more than a whole shelf of books. What follows is how I would approach a first one.
Begin with Gentle Cleaning, Never Stripping
Before you reach for a sander or a tin of chemical stripper, clean the table properly. Most grime on an old side table is a century of furniture polish, kitchen grease and dust, and it comes away easily. Use a cloth wrung out in warm water with a single drop of washing-up liquid, working in small sections, and dry each area immediately with a soft cloth. Never let water sit on the surface, and never dunk a leg or a foot in a bucket.
Sticky rings and fingerprint marks usually respond to a little white spirit on a cloth. What you must avoid is anything aggressive: caustic soda dips, ammonia-based cleaners, and aerosol silicone polishes, which leave a residue that makes any later finish fail. Above all, test whatever you plan to use on a hidden area first — the inside of a leg, the underside of the top, or the back edge. That single habit will save you from ruining a finish you cannot replace.
Identify the Finish Before You Touch It
An antique table may carry one of several finishes, and each one demands a different approach. Wrong guesswork is where beginners come unstuck.
- French polish (shellac) — the warm, glassy finish on most Georgian and Victorian tables. It dissolves in alcohol, so methylated spirits on a cloth will soften it, and a spill of gin or perfume will mark it white. It can be revived rather than replaced.
- Varnish or lacquer — harder, often slightly yellowed, and resistant to alcohol. Common on Edwardian and later pieces. It usually needs to be removed before refinishing, but gently.
- Wax or oil — a soft, matte surface that buffs up and feels dry rather than slick. Simply needs cleaning and rewaxing.
Check the underside of the top and the back of a leg. If you see a thin layer of fine-grained timber sitting over coarse pine, you have veneer — a mahogany or walnut skin glued to a cheaper carcass. Sanding through veneer is one of the most common and most heartbreaking beginner mistakes, so treat any thin surface as though it were paper.
Tackling Wobbles, Splits and Missing Veneer
Structural repairs come before cosmetic ones. A wobbly table is usually a loose joint, not a broken one, so work warm animal glue into the joint with a thin knife or a syringe, then clamp and leave for twenty-four hours.
- Loose screws in a bracket or hinge: dip a wooden cocktail stick in glue and tap it into the hole, then re-drive the screw.
- A lifting corner of veneer: press it flat with an iron on a low setting over a sheet of brown paper, then work a little glue underneath and clamp with a piece of wood and greaseproof paper.
- A small chip of missing veneer: cut a patch from a scrap of similar timber, glue it in with the grain running the same way, then pare it flush once dry.
- Cracked or split tops: resist filling with modern epoxy. A sliver of matching timber glued into the gap looks far better under a polished finish.
Clean old glue off joints with a scraper before regluing, and always use hide glue rather than a modern resin adhesive on an antique, so a future restorer can reverse your work.
Choosing a Finish That Suits the Piece
Once the table is clean and sound, you have a choice. A revived French polish — applied with a rubber and a little shellac — suits mahogany, walnut and satinwood, and keeps the depth and warmth of the original. A hard wax oil gives a more practical, water-resistant surface and is forgiving for a beginner. A simple beeswax polish over a sound existing finish is the least invasive option of all and often the right one.
Resist the urge to make it new. A little darkening around the feet, a faint ring on the top, a hairline crack in the border — these are the marks of a real object, and they are exactly what a reproduction cannot imitate. Restore function, conserve character.
Styling It Well in a Small Room
In a small British sitting room, proportion matters more than quantity. Check the height against your armchair or sofa arm — a side table should sit level with, or just below, the seat back. Slim tapered legs read lighter in a tight space than a heavy cabriole base, and a dark walnut or mahogany tone anchors a room full of pale walls beautifully.
Keep the surface calm: one lamp, one small dish, perhaps a short stack of books. A single object placed with confidence looks far more elegant than six arranged in a fuss. Give the piece a soft beeswax polish every few months, keep it out of direct sunlight, and let it settle into the room. A well-restored little table is not just furniture; it is proof that careful, patient work beats a quick replacement every time.



John Doe
14 January, 2022Having no content in post should have adverse..
Chauffina Carr
10 April, 2022We use these tests all time! Killer stuff!
Jim Séchen
16 July, 2022Thanks for all the comments, everyone!